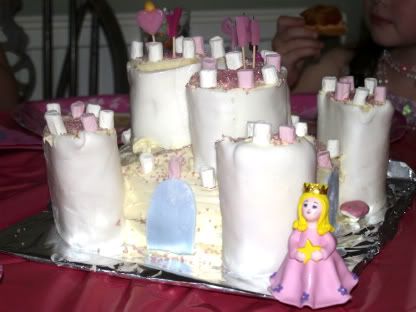
Our daughter's 5th birthday party was upon us and she wanted a princess party, complete with a princess cake. My husband and I decided to make a castle cake. Neither of us had a concrete plan on how we were going to make the cake. We both intended to make a practice one sometime before the day of the party to make sure we would have a plan in place for it, but, as often happens in large families, time got away from us and we wound up making the cake on the day of the actual party. (Actually, Robert started the night before the party, but the first cake he baked didn't come out right, so we let the kids just munch on it plain and scrapped the idea of using it for the castle cake.)
Fortunately, I had another cake mix in the cupboard. (It was a strawberry cake mix, one that we can't find in the UK unless we buy it online from American Soda.) Robert was about to bake the cake when he realized that we didn't have enough vegetable oil, so I made a quick run to the local shops and bought some vegetable oil. While I was there, I decided to buy three raspberry and vanilla cake rolls with the vague idea that they might make good towers for the castle.
Robert baked the cake in two round pans. While it was baking, he rolled out the ready-to-roll icing (I helped with this, because no matter how much icing sugar we put on the counter to keep it from sticking, it still kept sticking to the counter in places). Once it was rolled out, we rolled it around the raspberry and vanilla cake rolls and spent some time smoothing it.
Once the two round cakes were out of the oven and had cooled, Robert frosted & layered them with Betty Crocker's Vanilla Frosting. We could have also used ready-to-roll icing on this part of the cake to maintain a smoother surface, but some kids don't like ready-to-roll icing, so we thought that having different types of frosting on different parts of the cake would be best.
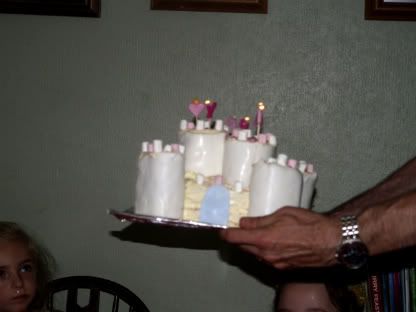
The "towers" were too tall, so we cut them into two, one piece 2/3 of the roll and one piece 1/3 of the roll. Using the frosting, we stuck the larger pieces to the sides of the frosted cake in four places. Then we also stuck three of the shorter pieces on top of the castle. We frosted the tops of the towers and added mini marshmallows around the edges by sticking them in the frosting (to make turrets).
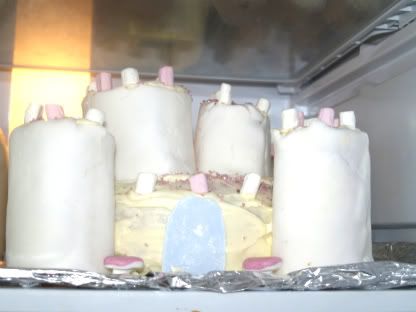
Robert kneaded some blue food coloring into the leftover ready-to-roll icing until the icing became light blue. Then he rolled it out and cut out windows and a door for the castle. We stuck them onto the "castle" using a very thin layer of the vanilla frosting.
I added two toadstool-shaped soft candies to the front of the castle and we put it in the fridge until it was time to bring it out so our little girl could blow out the candles.
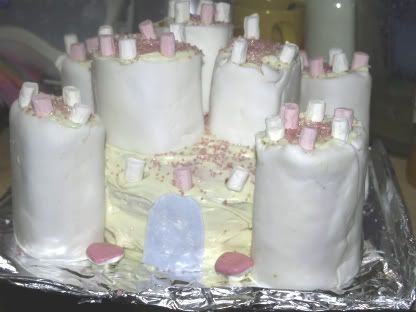
We topped the cake with some princess candles.
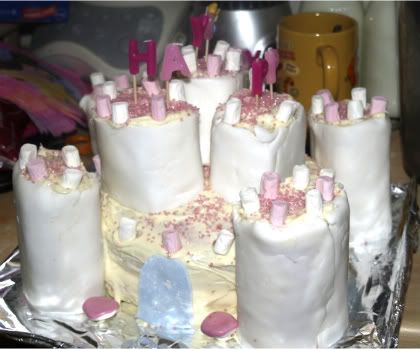
Then it was time to take the princess castle cake to the table.
We had bought a little princess cake decoration to use, so we added it to the cake by standing her just outside the "castle" right after we set the cake onto the table.
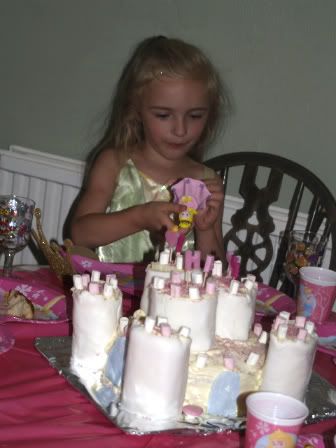
Then we sang "Happy Birthday," and our little five year old blew out the candles.
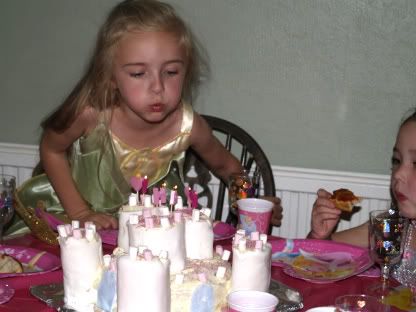
The cake was a hit and our daughter was very pleased!
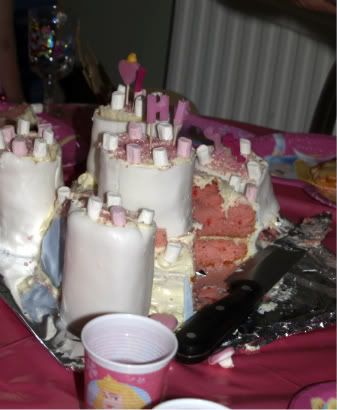
The only change I would have made, had I thought of it ahead of time, is that, to make the cake even more "princessy," I would have bought some pointy sugar cones and set them upside down on the tops of the towers and then "painted" them pink with some vanilla frosting that I would have mixed with red food coloring.
Another twist on this cake would be to buy some light blue cotton candy and bunch it around the bottom of the cake (as clouds) and then use little fairy cake decorations to make it a fairy castle in the clouds.


No comments:
Post a Comment